Understanding Sash Cords and Common Issues
Sash windows are a timeless feature of many traditional properties across the UK, prized for their classic aesthetic and functional design. Central to their operation are components known as sash cords, which facilitate smooth opening and closing of the window sashes. Yet, over time, these cords can wear out, fray, or break, leading to operational failures and potential damage to the window structure. Recognizing the importance of maintaining sash cords and knowing how to replace them effectively can prolong the lifespan of your windows and preserve their charm.
To grasp the significance of sash cords, it’s essential to understand their role within the window’s mechanism. Typically, a sash cord runs over pulleys connected to weights hidden within the window frame. These weights counterbalance the weight of the sash, enabling effortless operation. When functioning correctly, you experience a smooth lift and lower motion. However, when the cord is compromised, you may notice difficulty in opening the window, uneven movement, or the sash dropping suddenly.
For a comprehensive visual guide, you can refer to tutorials such as Broken sash cord replacement.
What is a sash cord and how does it work?
A sash cord is a durable piece of twine or braided rope, designed specifically to connect the sash (the movable panel of the window) with internal weights or balances. When the cord is in good condition, it seamlessly transfers the weight of the sash to the counterweights, allowing the window to lift and lower smoothly. The cords typically run through pulley systems situated at the top of the window frame, with the weights enclosed behind the plaster or within the frame’s cavity.
As you operate the window, the sash cord acts as the vital link in the chain, ensuring that the sash remains level and operable. Because of their crucial role, the integrity of the sash cord directly affects window functionality and safety.
Modern replacements often use high-strength synthetic cords that outperform traditional natural fiber ropes, offering increased durability and lifespan.
Signs your sash cord needs replacing
Recognizing the symptoms of a failing sash cord is vital for timely maintenance. Common signs include:
- Difficulty opening or closing: The window feels unusually heavy or stiff, indicating the cord may be frayed or broken.
- Sash dropping or sticking: The sash hangs unevenly or gets stuck when moving.
- Rattling or squeaking noises: Unusual sounds during operation can signal loose or damaged cords.
- Visible wear or damage: Fraying or unraveling of the cord from external inspection.
- Window failure to stay open: When the sash fails to stay in position, it often points to worn or broken cords.
Regular inspections can preempt more significant issues and help coordinate proactive repairs. Remember, a sudden drop of the sash or failure to operate is a clear indicator that immediate action is required.
Causes of sash cord breakage and wear
Sash cords, though resilient, are subjected to continual stress and environmental factors that compromise their longevity. Key causes include:
- Age and material fatigue: Traditional natural fiber cords, such as hemp or cotton, deteriorate over decades due to constant friction and tension.
- Environmental exposure: Moisture, humidity, and temperature fluctuations accelerate deterioration, especially if the sash’s interior is exposed to the elements.
- Mechanical stress: Over-tightening or rough handling can cause premature fraying or snapping.
- Corrosion and rot: Wooden sash and frame elements may develop rot, putting additional strain on the cords.
- Pulley and weight issues: Damaged pulleys or misaligned weights increase wear on the cords.
Understanding these causes helps in selecting suitable replacement cords and adopting preventive measures, such as regular lubrication and environmental protection.
Preparing for Broken Sash Cord Replacement
Tools and materials required for the job
A successful sash cord replacement hinges on using the right tools and materials. Essential items include:
- Replacement sash cords: Typically braided nylon or polypropylene, measuring slightly longer than the old cord’s length.
- Sash cord clips/ties or hooks: For securing the new cord.
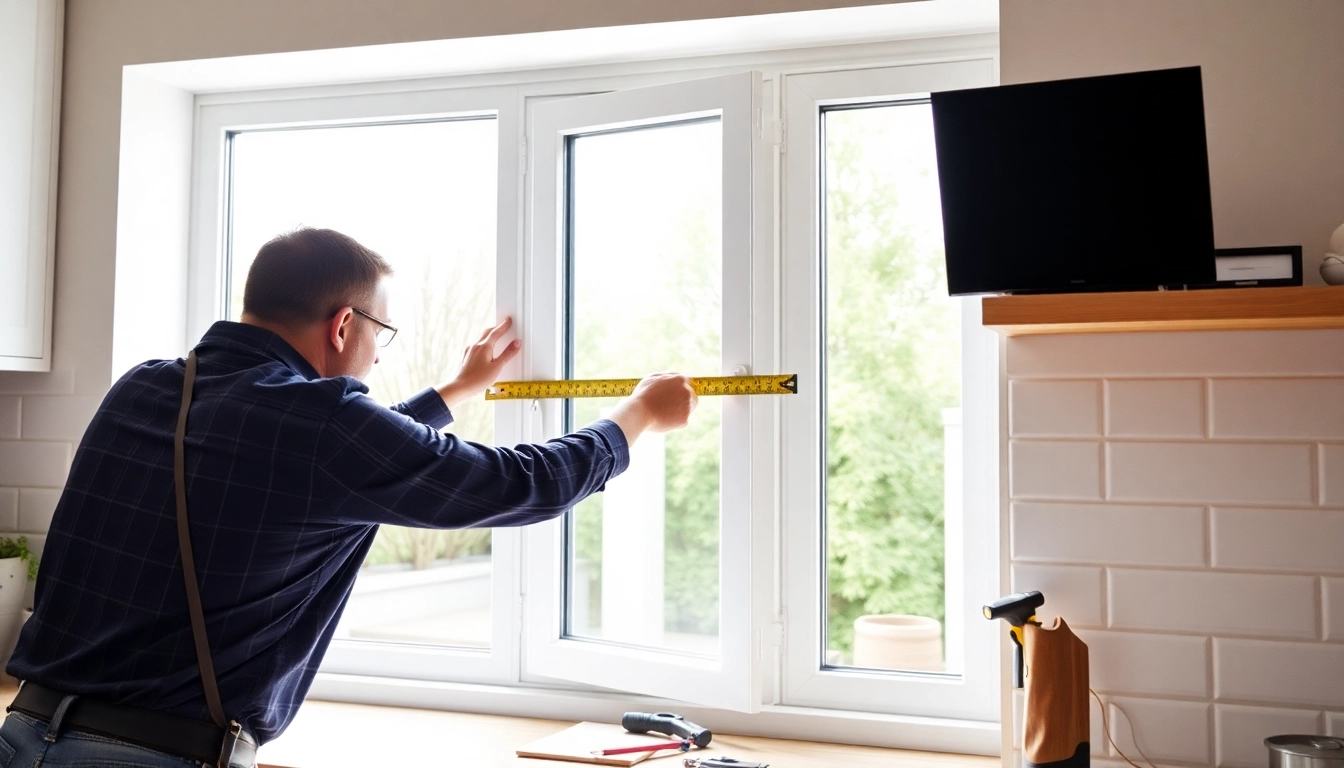
- Measuring tape: Precise measurement of the old or new cord length.
- Screwdriver and chisel: For removing beading and accessing internal components.
- Hammer and mallet: To gently pry off beading or dismantle framing.
- Scissors or cutting tool: To trim the new cord to size.
- Lubricant: Such as silicone spray for pulleys and moving parts.
- Safety equipment: Including gloves, goggles, and dust masks.
For more detailed guidance and recommended products, consult trusted suppliers such as Broken sash cord replacement.
Safety precautions and best practices
Replacing sash cords can involve working at height or with sharp tools, so safety is paramount. Keep these precautions in mind:
- Switch off any electrical power: Especially if working near wiring or electrical components.
- Use appropriate scaffolding or ladders: Ensure stability and secure footing.
- Wear protective gear: Gloves to avoid splinters, goggles for debris, and masks for dust.
- Handle tools carefully: Take your time with chisels and cutters to prevent injuries.
- Work in a well-ventilated area: Reduces inhalation of dust or fumes.
Follow manufacturer instructions for all tools and replace cords with patience and care to avoid damaging the sash or frame.
Assessing window condition before starting
Before embarking on a sash cord replacement, ensure the window frame and sash are structurally sound. Check for:
- Wood rot or decay: Large areas may require repair or replacement of sections.
- Warped or damaged sash: Might need refurbishment or reinforcement.
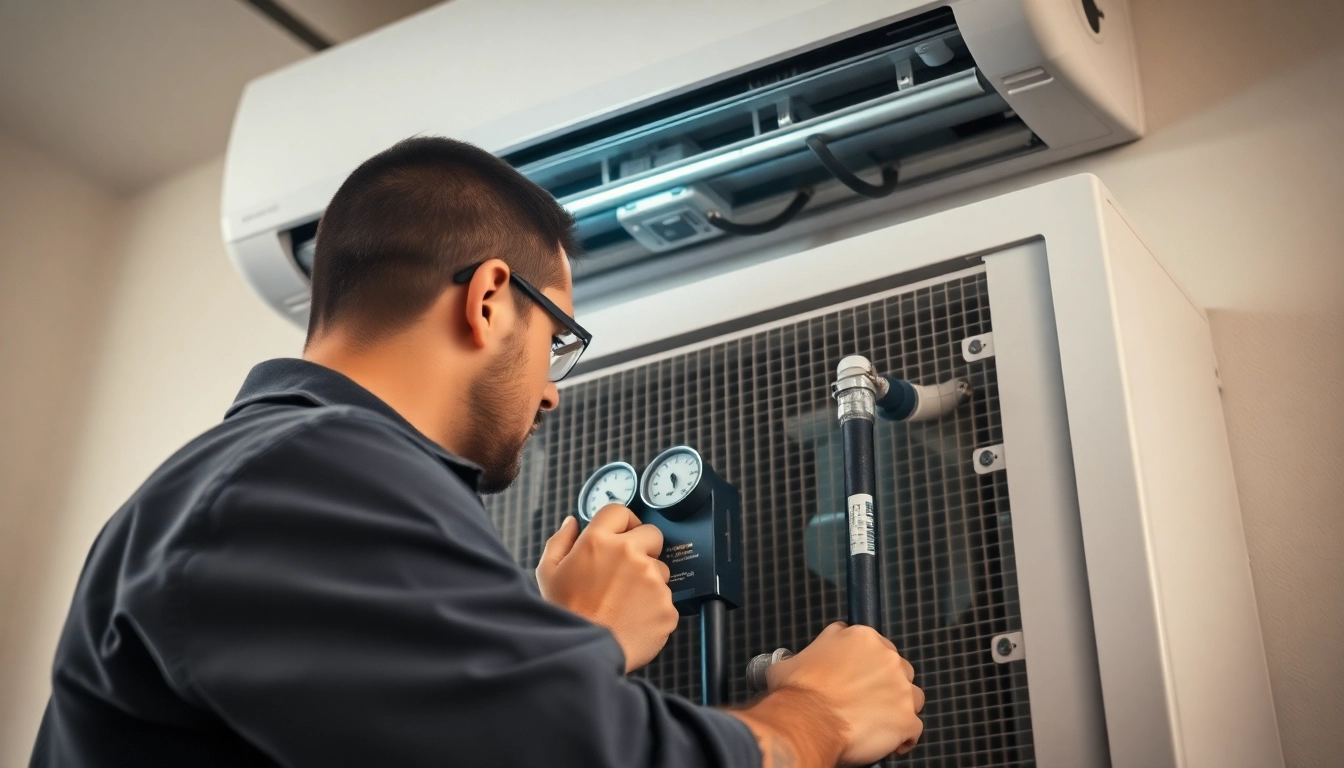
- Pulley and weight integrity: Verify pulleys turn smoothly and weights are secure.
- Alignment and fit: Ensure sash sits properly within the frame.
Address any underlying issues before replacing cords to prevent recurrent failures.
Step-by-Step Process for Replacing Sash Cords
Removing the sash and accessing the cords
The first step involves removing the sash to access the cords and weights. Begin by carefully prising off the beading or trim that covers the pulley system, using a chisel or flat-head screwdriver. Be gentle to avoid damaging the wood or the beading itself.
Once the beading is removed, locate the pulleys at the top of the window frame. You may need to remove the pulley covers if they are fixed with screws. Gently turn or slide the pulleys to reveal the cords running over them.
To detach the sash, support it securely and carefully lift or tilt it outward. Depending on the window design, you may need to unscrew the frame or disconnect the sash from the cords.
Measuring and cutting new sash cords
Accurate measurement is crucial for a smooth operation post-repair. Measure the length of the existing cord if intact, accounting for the distance over the pulley and inside the weights’ housing. Add extra length—usually about 2 inches—to accommodate knots and secure attachments.
Cut the new cord to the measured length using sharp scissors or a utility knife. Use braided nylon or polypropylene cords, which offer strength and resistance to fraying.
To ensure proper tension, you may temporarily attach the cord to the sash’s attachment point, test the length by pulling it over the pulley, and adjust accordingly.
Rewiring the sash and reassembling the window
Attach the new cord securely to the sash, often via knots or hooks. Carefully feed the cord through the pulley system, ensuring smooth movement without obstructions.
Once the cords are routed, reconstruct the weights or balance system in their housing. Test the functionality by gently lifting and lowering the sash to confirm smooth operation and proper balance.
Finally, reattach any beading, trim, or covers, ensuring all components are fixed securely. Check overall window alignment and operating ease before completing the task.
Cost, Budgeting, and When to Hire a Professional
Average costs for sash cord replacement in the UK
The cost of replacing sash cords varies depending on window size, number of cords, and whether you undertake the repair yourself or hire a professional. On average:
- DIY replacement: Costs are primarily for materials, typically between £10 and £30 for quality synthetic cords.
- Professional service: Labour costs range from approximately £70 to £150, with total expenses influenced by the number of cords and the complexity of the window’s design.
For instance, replacing a single outer sash cord might cost around £80 in total, whereas replacing all four cords can range up to £150 or more.
For detailed pricing tailored to your specific requirements, consult local specialists or check reputable sources such as cost guides.
DIY vs professional repair: pros and cons
DIY sash cord replacement offers cost savings and the satisfaction of completing the task independently. It’s suitable for those with basic DIY skills and a good understanding of window components. Advantages include:
- Lower cost significantly reduces expenses.
- Flexible scheduling and immediate repairs.
- Learning valuable skills about window maintenance.
However, potential challenges include difficulty accessing internal components, risk of damaging sash or frame, and safety concerns. Professional repair provides expertise, guaranteed workmanship, and expertise in addressing complex issues such as rot or damaged sashes, often making it the preferred choice for older or historically significant windows.
- Professionals can identify underlying problems.
- Guarantee a long-lasting and safe fix.
- Save time and avoid accidental damage.
Ultimately, the decision hinges on your skills, the window’s condition, and budget considerations.
Maintenance tips to prolong sash cord lifespan
To extend the life of your sash cords and ensure smooth operation, consider the following maintenance practices:
- Regularly inspect cords for signs of fraying or damage.
- Lubricate pulleys with silicone spray to reduce friction.
- Avoid excessive force when opening or closing windows.
- Keep windows clean and free from debris.
- Address any wood rot or structural issues promptly.
Implementing these routine checks and care measures can help prevent premature cord failure and extend the functional lifespan of your sash windows.
Advanced Tips and Troubleshooting
Dealing with damaged or rotten sash wood
Sometimes, worn or rotten woodwork complicates sash cord replacement. Inspect the sashes thoroughly for rot, splits, or damage. For minor cracks, wood fillers may suffice; for extensive decay, sash replacement or wood repair may be necessary.
Remove damaged sections carefully, treat residual rot with preservative, and reinforce or replace sash parts as needed. Ensuring the sash and frame are solid will enhance overall window durability and prevent future issues.
Upgrading to modern or durable sash cords
While traditional natural fiber cords have been used historically, modern synthetic options such as braided nylon or polypropylene cords offer superior strength, weather resistance, and longevity. Upgrading your sash cords to these materials can reduce maintenance frequency and improve operational safety.
Consult specialists or suppliers for recommendations tailored to your window type; the right upgrade can significantly improve function and reduce future repair costs.
Ensuring long-term window operation and safety
Proper maintenance, timely replacement of worn components, and professional assessments for aged or damaged frames are key strategies in keeping your sash windows operational and safe. Consider periodic professional inspections, especially for historical or intricately designed windows.
Additionally, upgrading hardware and securing the sash with modern locking systems can improve security and safety standards.