Understanding Sash Cords and Common Issues
What Are Sash Cords and How Do They Fail?
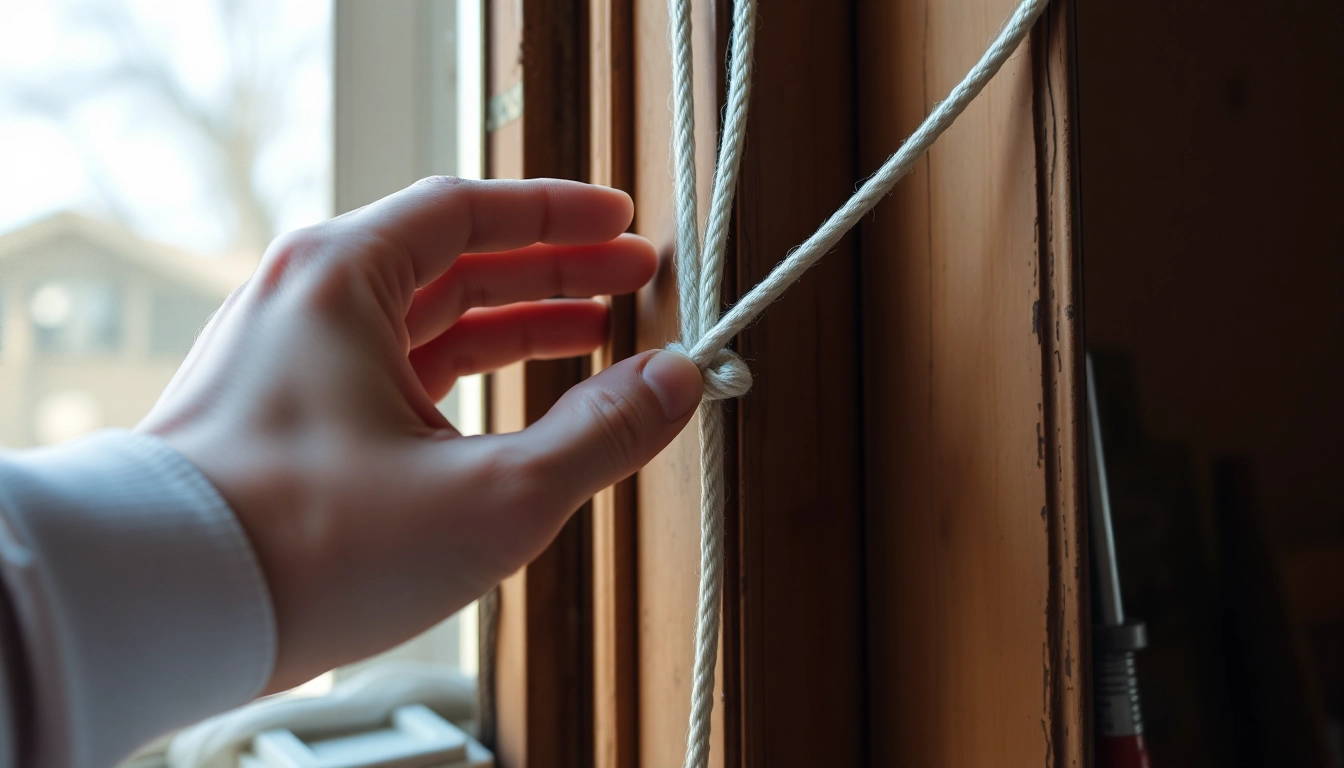
Sash cords, also known as sash ropes, are the essential components that facilitate the smooth raising and lowering of sash windows, particularly in traditional double-hung window designs. Typically made from durable twisted hemp, cotton, nylon, or polypropylene, these cords connect the sash to the counterweights within the window frame. When functioning correctly, they allow the sash to glide effortlessly, enabling easy ventilation and access. However, over time, these cords can degrade or fail due to various factors, leading to operational issues.
Common causes of sash cord failure include exposure to fluctuating humidity and temperature, which can weaken natural fibers, and wear and tear from frequent use. Additionally, mechanical damage, pests, and corrosion of counterweights can accelerate the deterioration process. When the cords become frayed, stretched, or snapped, they compromise the balance of the sash window, often rendering it difficult or impossible to open or close properly. Recognizing early signs of wear can prevent further damage and maintain the integrity of your windows.
Signs of a Broken Sash Cord in Your Windows
Detecting a broken sash cord early can save time and expense. Typical signs indicating that a sash cord needs replacing include:
- Difficulty opening or closing the window: If the sash feels stiff, heavy, or gets stuck, it may be due to slack or broken cords.
- Uneven sash movement: If one side of the window operates smoothly while the other is sluggish or drops unexpectedly, it suggests an imbalance caused by a faulty cord.
- Visible damage or fraying: When inspecting your windows, look for cords that appear worn, frayed, or have snapped entirely.
- Noisy operation: Squeaking or grinding sounds when moving the sash can signal underlying mechanical stress, often linked to cord failure.
- Drop-in sash: If the sash suddenly drops or sags, the cords may have snapped, leaving the window unsupported.
Impact of Faulty Cords on Window Operation
When sash cords are compromised, the consequences extend beyond mere inconvenience. Faulty cords disrupt the balance and safety of the window system, leading to several issues:
- Restricted ventilation: Inability to open windows fully can hinder airflow, impacting indoor air quality and energy efficiency.
- Increased safety risks: Sagging or dropped sash windows can pose injury hazards, especially in case of sudden failure.
- Potential further damage: Continued use of a window with broken cords can cause damage to other components, such as the sash, frame, or hardware, resulting in costly repairs.
- Reduced property value: Outdated or damaged windows diminish the aesthetic appeal and can affect the overall valuation of your property.
Thus, timely replacement and maintenance of sash cords are critical for preserving both safety and functional integrity.
Steps for Effective Broken Sash Cord Replacement
Preparing Your Window for Cord Replacement
Proper preparation ensures a smooth replacement process and minimizes risk of damage. Start by gathering all necessary tools and materials such as screwdrivers, chisels, replacement cords, gloves, and safety glasses. Clear the area around the window to provide adequate workspace. Carefully inspect the window to determine access points—most modern sash windows have access panels or removable beads that facilitate the process.
Before beginning work, ensure the window is securely supported or fastened to prevent accidental falls or damage. If possible, remove or tilt the sash inward to gain better access to the cords and counterweights. It’s advisable to document the current setup through photographs for reference, especially if multiple cords or complex hardware are involved.
Removing the Old, Damaged Sash Cord
The removal process varies based on window design but generally involves the following steps:
- Remove window beading or trim: Using a chisel or flat screwdriver, carefully prise off any beading or stops holding the sash in place, being cautious not to damage the wood.
- Access the sash and cords: Once the beading is removed, locate the sash cords. If the cords are frayed or snapped, they may be hanging loose or entirely missing.
- Disconnect and release the cords: Cut any remaining cords close to the sash or counterweight, and gently detach the sash from the pulleys if applicable.
- Withdraw the sash: Carefully lift or tilt the sash out of the frame, supporting it to prevent damage.
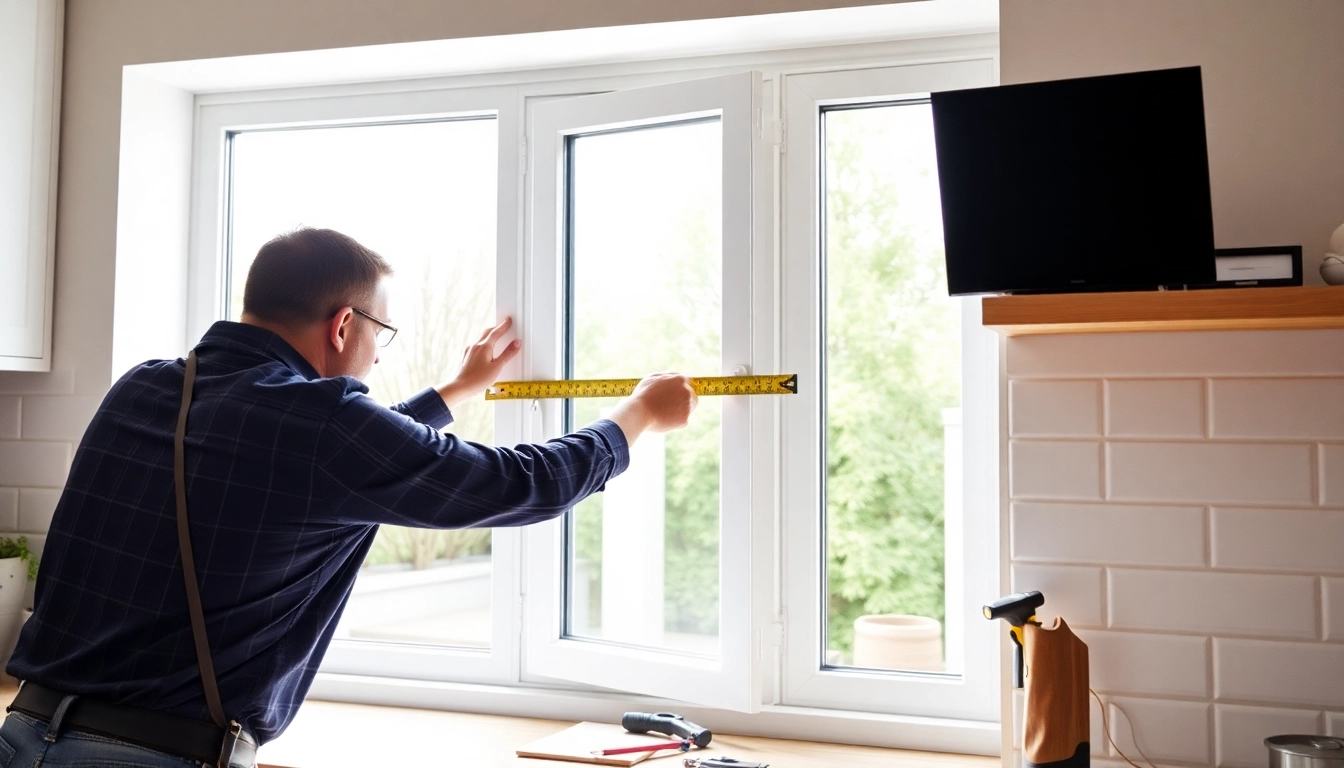
- Remove and measure the old cords: Take note of the length and type of cord for accurate replacement. Best practice involves measuring the old cord or the distance between the sash and the counterweight’s pulley system, adding a few extra inches to facilitate installation.
Remember to perform this step methodically to prevent damaging the sash or hardware, which will complicate the repair process.
Installing a New Sash Cord Safely and Efficiently
With the old cord removed, it’s time for the installation of the new sash cord. Follow these detailed steps:
- Select the appropriate replacement cord: Use durable, high-quality materials such as nylon or polypropylene, which offer longevity and resistance to environmental conditions. Consult with local suppliers or specialists to choose a cord that matches the original specifications.
- Attach the new cord to the sash: Thread the new cord through the sash’s pulley or guide, ensuring it’s centered and not twisted. Tie a secure knot or use a cord end fitting designed for sash windows.
- Connect the cord to the counterweight: Wind the cord around the counterweight or pulley, making sure it is tightly wound and secured to prevent slipping. It’s often advisable to work with a second person to manage the sash during this step.
- Reinsert the sash: Carefully position the sash back into its frame, aligning the beading and stops as per your earlier reference photos. Test the movement gently to ensure smooth operation without binding.
- Adjust the tension: The cords should be taut but not overly tight. Adjust the length if necessary before fixing the beading or trim back any excess cord.
Finally, replace any decorative molding or beads and ensure all hardware is firmly secured. Test the window’s functionality thoroughly, opening and closing multiple times to confirm a smooth operation.
Tools, Materials, and Safety Tips
Essential Tools for Replacing a Sash Cord
- Screwdrivers (Phillips and flat-head)
- Chisels and pry bars
- Hammer or mallet
- Measuring tape
- Scissors or utility knife (for cutting cords)
- Drill (if hardware removal is necessary)
- Clamps or supports for sash stability
- Replacement sash cords (synthetic or natural fiber)
- Safety glasses and gloves
Having these tools prepared ensures efficiency and safety during the replacement process.
Choosing the Right Replacement Cord for Durability
Selection of the appropriate sash cord material is crucial for long-term performance. Natural fibers like hemp or cotton are traditional but susceptible to rot and wear over time. Modern synthetics such as nylon or polypropylene are preferred today for their superior strength, resistance to environmental factors, and minimal stretching.
When selecting, consider the weight of your sash, the window size, and the operating frequency. Typically, cords are sold in various thicknesses and lengths—measure accurately to avoid under- or over-tension issues. Consulting with sash window specialists or local hardware experts can help you choose cords designed explicitly for your window type.
Safety Precautions During the Replacement Process
Sash window work can pose safety hazards, such as falls, injuries from tools, or damage to window hardware. Ensure all safety measures are observed:
- Wear protective safety glasses and gloves to prevent injury from sharp hardware or accidental splinters.
- Secure the sash and frame components before removal or installation to prevent unexpected falls or movements.
- Use ladders or scaffolding properly if working at height, and ensure they are stable.
- Disconnect power tools when not in use and keep the workspace clean and organized.
- If unsure about any step, consult professional services to prevent accidents and ensure compliance with safety standards.
Cost, Timeframe, and Professional Assistance
Estimating Costs for Broken Sash Cord Replacement
The expense of replacing a sash cord varies depending on the extent of work, location, and whether you opt for DIY or professional service.:
- DIY Replacement: Costs are primarily for materials, with high-quality cords ranging from £5 to £20 per length, depending on material and size. Additional expenses include basic tools if not already available.
- Professional Services: Professional sash window repair specialists typically charge between £70 to £150 per window, depending on the number of cords, complexity, and region. For example, replacing a single sash cord might cost around £80, whereas replacing all four cords could be approximately £150.
According to industry data, comprehensive work involving both inner and outer cords, or extensive sash repairs, incurs higher costs but ensures long-lasting performance.
DIY vs. Professional Sash Cord Replacement
Choosing between DIY and professional replacement depends on skill level, available tools, and window accessibility. DIY offers cost savings and immediate gratification but requires careful attention to detail and safety. It is suitable for those with basic handyman skills and a good understanding of window mechanics.
Professional replacement, while more expensive, guarantees quality workmanship, correct tensioning, and often includes additional services such as wood repair or hardware replacement. Professionals have access to specialized tools and experience navigating complex window designs, especially for historic or unusual sash windows.
Assess your competence and the window condition before making the decision. For critical or antique windows, consulting a specialist is highly recommended.
Maintaining Your Windows to Prevent Future Breakages
Prevention is better than cure. Regular maintenance prolongs the lifespan of sash cords and the overall window system:
- Lubricate pulley and hardware components periodically to reduce friction and wear.
- Inspect cords and hardware annually for signs of deterioration or misalignment.
- Keep frames clean and free from debris that could hinder operation.
- Address small damages immediately—small cracks or wood rot can worsen if neglected, potentially affecting the sash cord integrity.
- Consider upgrading to modern, low-maintenance replacement cords or hardware to improve reliability and reduce future repairs.
Additional Tips for Window Restoration and Performance
Inspecting and Repairing Wood Frames and Sashes
Beyond replacing cords, inspecting the sash, frame, and associated hardware from time to time is vital. Look for signs of rot, decay, or insect damage. Small cracks or holes can be repaired with wood filler suitable for exterior use. If damage is extensive, more significant sash replacement or restoration may be required, involving professional carpentry or sash rebuilding services.
Additionally, ensure the sash grooves and tracks are clean and lubricated, reducing resistance to operation and preventing undue stress on new cords.
Enhancing Window Longevity with Proper Maintenance
Implementing a routine maintenance schedule preserves your windows’ functionality and appearance. This includes re-sealing glazing, repainting wood surfaces, and verifying hardware function. Proper sealing prevents moisture ingress, which can degrade wood and hardware, indirectly affecting the sash cords’ effectiveness.
Use weatherstripping and draught proofing where applicable to reduce environmental stressors that accelerate wear.
How to Improve Window Operation Post-Repair
After replacing sash cords, fine-tuning the window operation can ensure optimal performance. Adjust the tension of cords if necessary, ensuring the sash rises smoothly without excessive force. Test the window in different weather conditions to verify consistency. If the window feels stiff or uneven, recheck the cord tension, hardware alignment, and sash fit.
A key tip is to lubricate pulleys and hardware components with high-quality, weather-resistant lubricants to facilitate easier movement and reduce wear.
Ensuring good technique during installation and ongoing maintenance not only extends the life of your windows but also enhances their aesthetic and functional appeal.